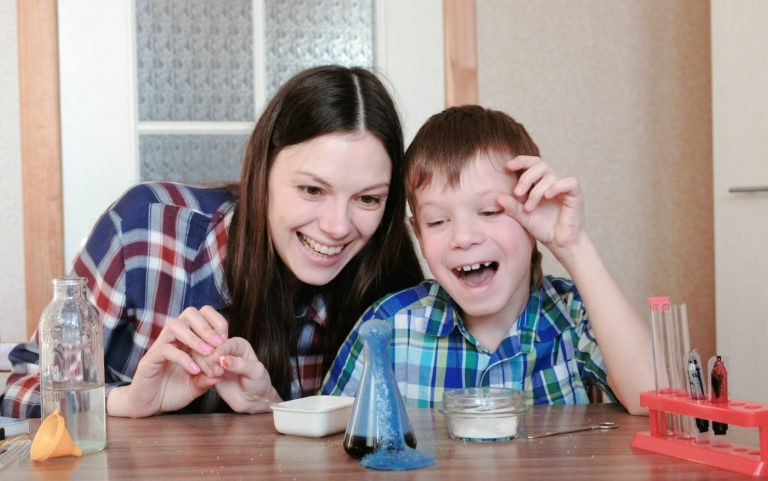
Science isn’t something that you have to conduct in the classroom or even in a lab; it can be done anywhere. And with children stuck at home during the pandemic, science experiments at home can be a fun outlet from their regular everyday routine. One of the great things about science is that you can use everyday household items to conduct experiments to help children connect to the world around them and help them understand complex concepts. We’ve scoured the internet and rounded up our favorite at-home, easy science experiments for kids. You’ll be amazed at what students can learn from the comfort of their homes.
Will it Leak?
If you’re looking for an at-home science experiment that kids will want to do repeatedly, try this water-in-a-bag pencil experiment. The materials you’ll need for this experiment are water, a plastic storage bag, and sharp pencils. To begin, fill the bag with water and make sure there are no holes in the bag. Next, have one person hold the top of the bag tightly while another person sticks the pencils straight (not angled) through the bag. Challenge children to see how many pencils they can get through the bag before it breaks. Disclaimer – make sure you do it outdoors because you may get wet.
How did that work? Plastic bags are made of a material called Polymers. Polymers are flexible, so when you stick a pencil through them, they push back on the pencil to form a seal. When you remove the pencils, the water leaks out because the Polymers are pushed aside.
Floating Candy Letters
All you need for this fun experiment is a bowl of cold water and a few M&Ms or Skittles. Place a couple of pieces of candy into the bowl of cold water with the letter side facing up so you can observe what happens. After a couple of minutes (can be up to 20), you will see the coating of the candy slowly come off and the colors dissolve in the water.
How did that work? The dye on the candy is water-soluble while the letters are not; that is why they float to the top.
Tornado in a Jar
‘Tornado in a jar’ is an easy and quick experiment that can teach kids about the weather. All you need to get started is a mason jar, three cups of water, one teaspoon of dish soap, one teaspoon of vinegar, and glitter. Fill the jar with water leaving an inch of space on top. Pour the dish soap, vinegar, and glitter into the jar and close the lid. Next, swirl the jar for about 5-15 seconds and set in on the table and watch the tornado.
How did that work? When you spin the water, it creates a vortex and causes the water to rotate around the vortex in a circular motion producing a tornado.
Make a Rainbow
Everyone loves to see a rainbow, but we don’t always get the chance to. Now, with this at-home science experiment we can see one every day. The materials you need for this activity are a clear container with water, a mirror, a sheet of white paper, and access to a sunlit window. Place the bowl in front of the window, then place the mirror partway into the water facing the light. Next, hold the paper to intersect the reflection and watch as the rainbow appears.
How did that work? This experiment demonstrates when light is refracted. When light enters another substance of a different density, it causes the light to bend, and this shows up on paper as different bands of color.
Water Walking
This experiment will show kids how water can walk from one cup to another. Materials you’ll need to make this happen are clear cups, water, different colors of food coloring, and white paper towels. Cut a paper towel in half. Then fold one piece in half lengthwise, and in half lengthwise again, so you have a long strip of paper towel. Do this twice. Next, line three cups next to one another in a row. Fill the outer cups with water and a drop of food coloring and leave the inner one empty. Place one end of the paper towel strip in a cup with water, and the other end in the empty cup. Do the same with the other paper towel strip in the other cup with water. Then, watch as the colored water “walks” from the outer cups to the middle cup. This is fascinating.
How did it work? The water moves through the gaps in the paper towel fibers and “walks” into the empty jar. This is a process called capillary action.
Egg in a Bottle
Have you ever seen an egg get sucked into a glass bottle? Probably not, but you can now. For this fascinating experiment, all you need is a peeled hard-boiled egg, a glass jar with a mouth smaller than the egg (a glass milk jug works great), matches, paper, and a straw. Cut a strip of paper that is narrow enough to fit inside the jar and long enough that it ends below the top of the bottle when fitting inside. Have an adult light the piece of paper and place it inside the jar. Next, place the egg on the top of the jar and watch as it gets sucked inside the jar.
How did that work? This is called the Ideal Gas Law. This is when high pressure wins over low pressure.
Levitate a Stick Figure
The internet was fascinated when a magic marker stick figure looked like it came to life after being in the water. Now, you can do this experiment at home! All you need is a black dry erase marker, a shiny white plate, and some water. Draw your stickman on the plate, then gently and slowly add water over it. The stickman should rise off the plate. You can make the drawing move by tipping the plate or pulling it around with your fingers. Here is a video.
How did it work? Dry erase markers are insoluble, which means they cannot be dissolved in liquid.
Any of these simple but cool science experiments will get children excited to learn about science. Enjoy your experiments and have fun!